The Jellybean Junction Blog
My colourful crochet adventures
05 Apr 2021
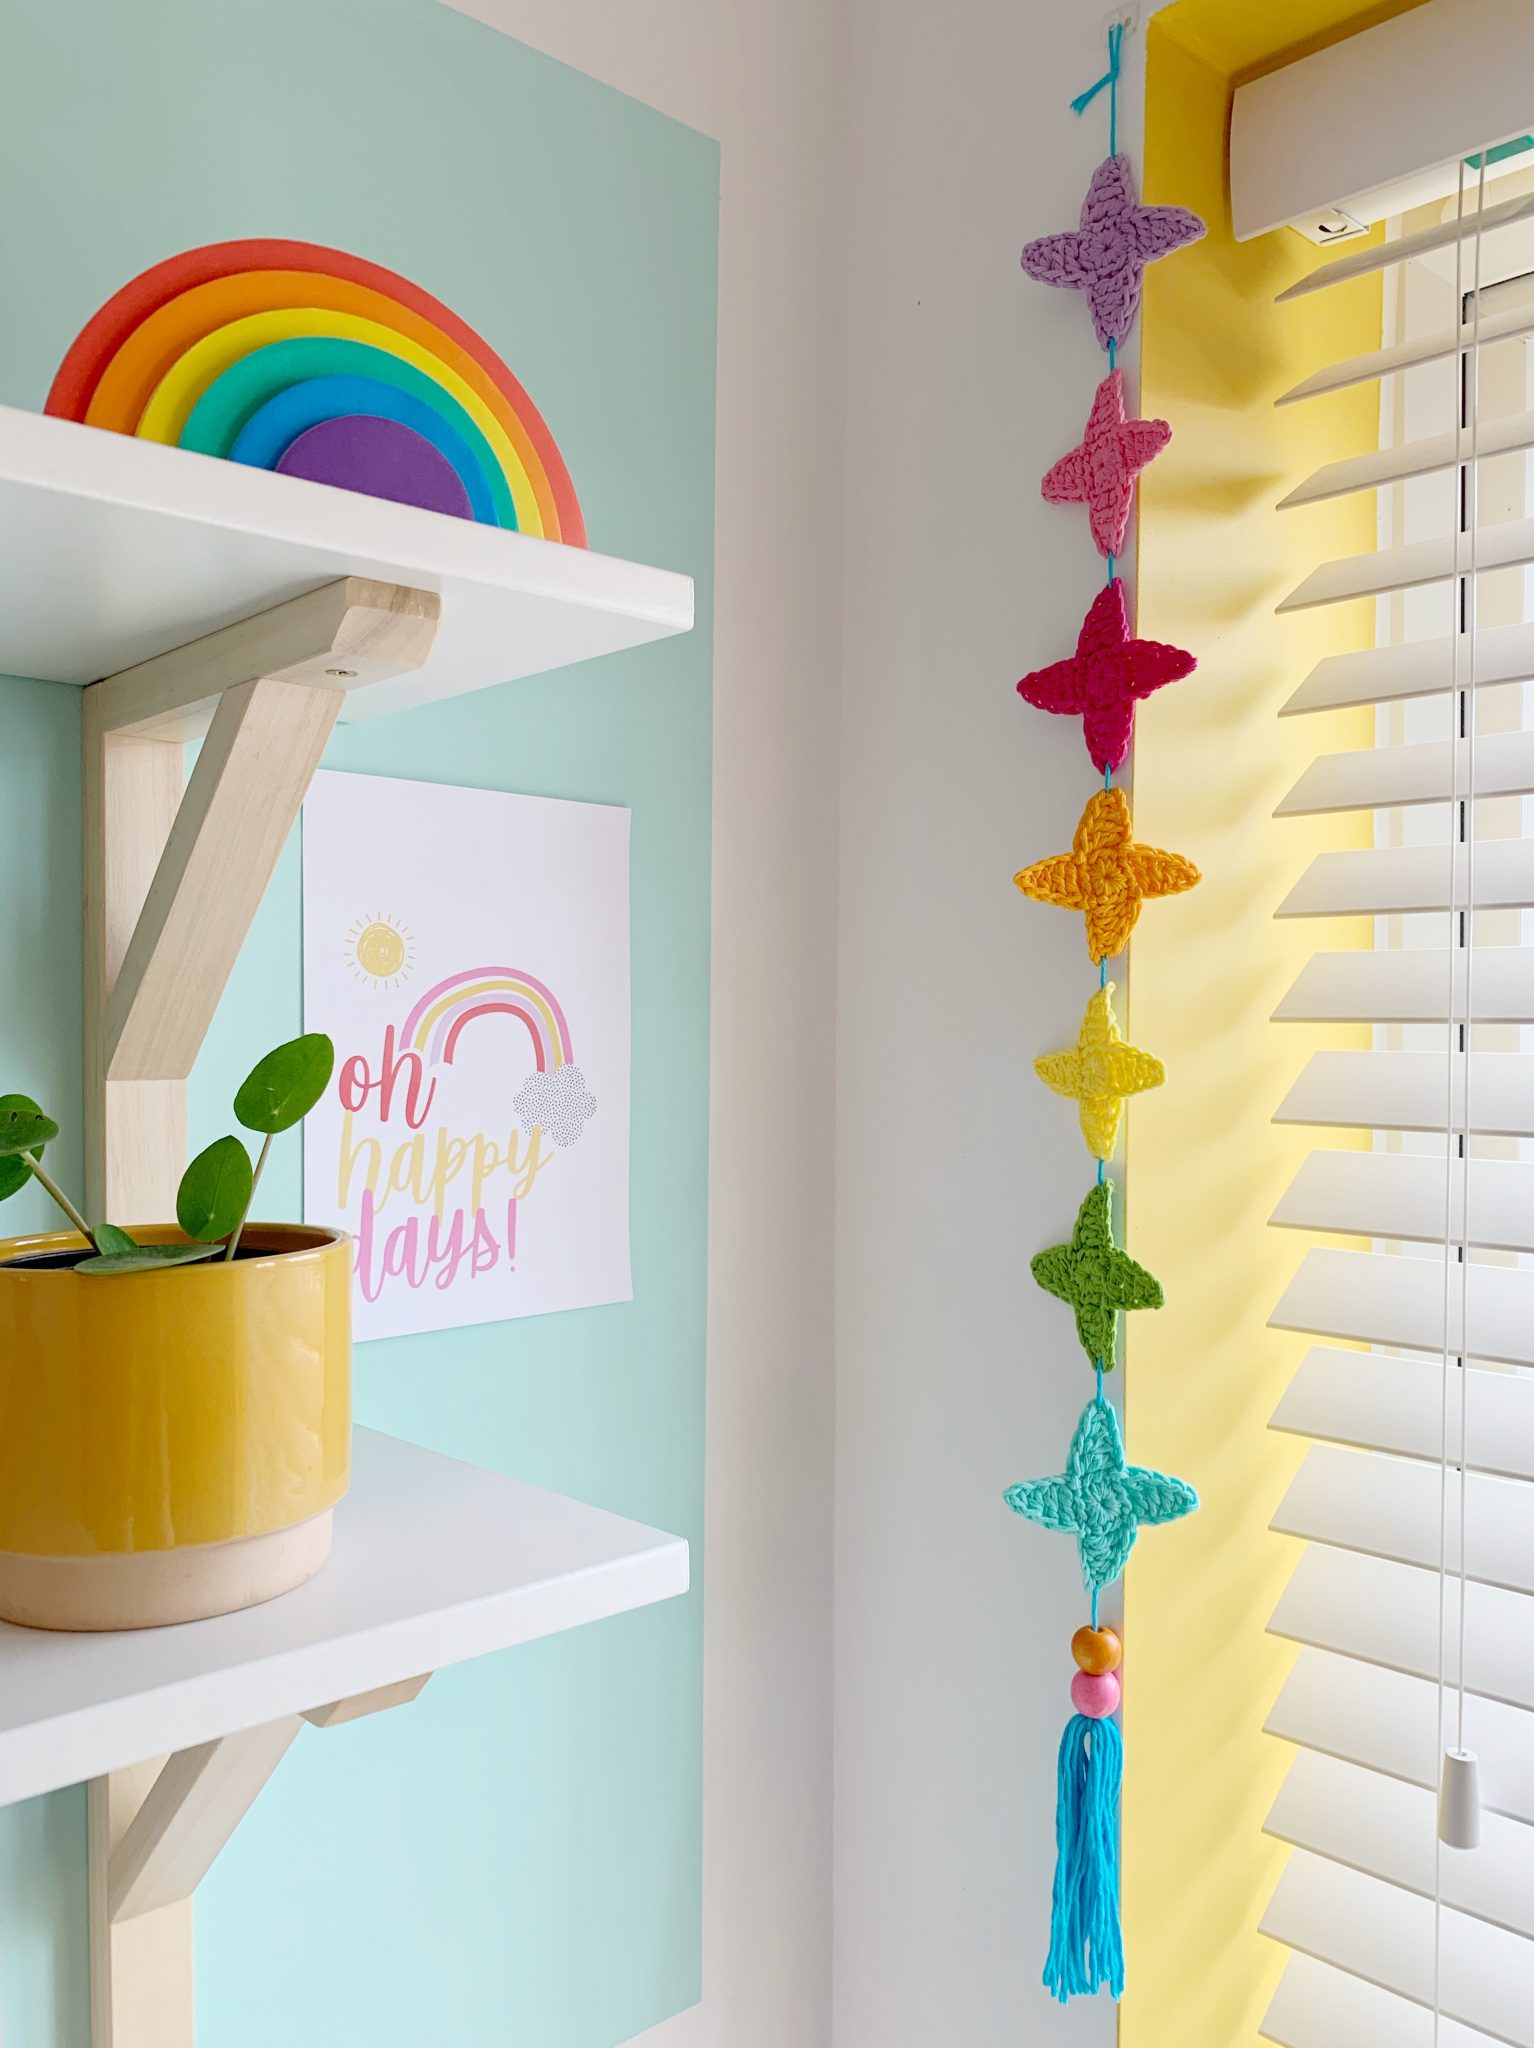
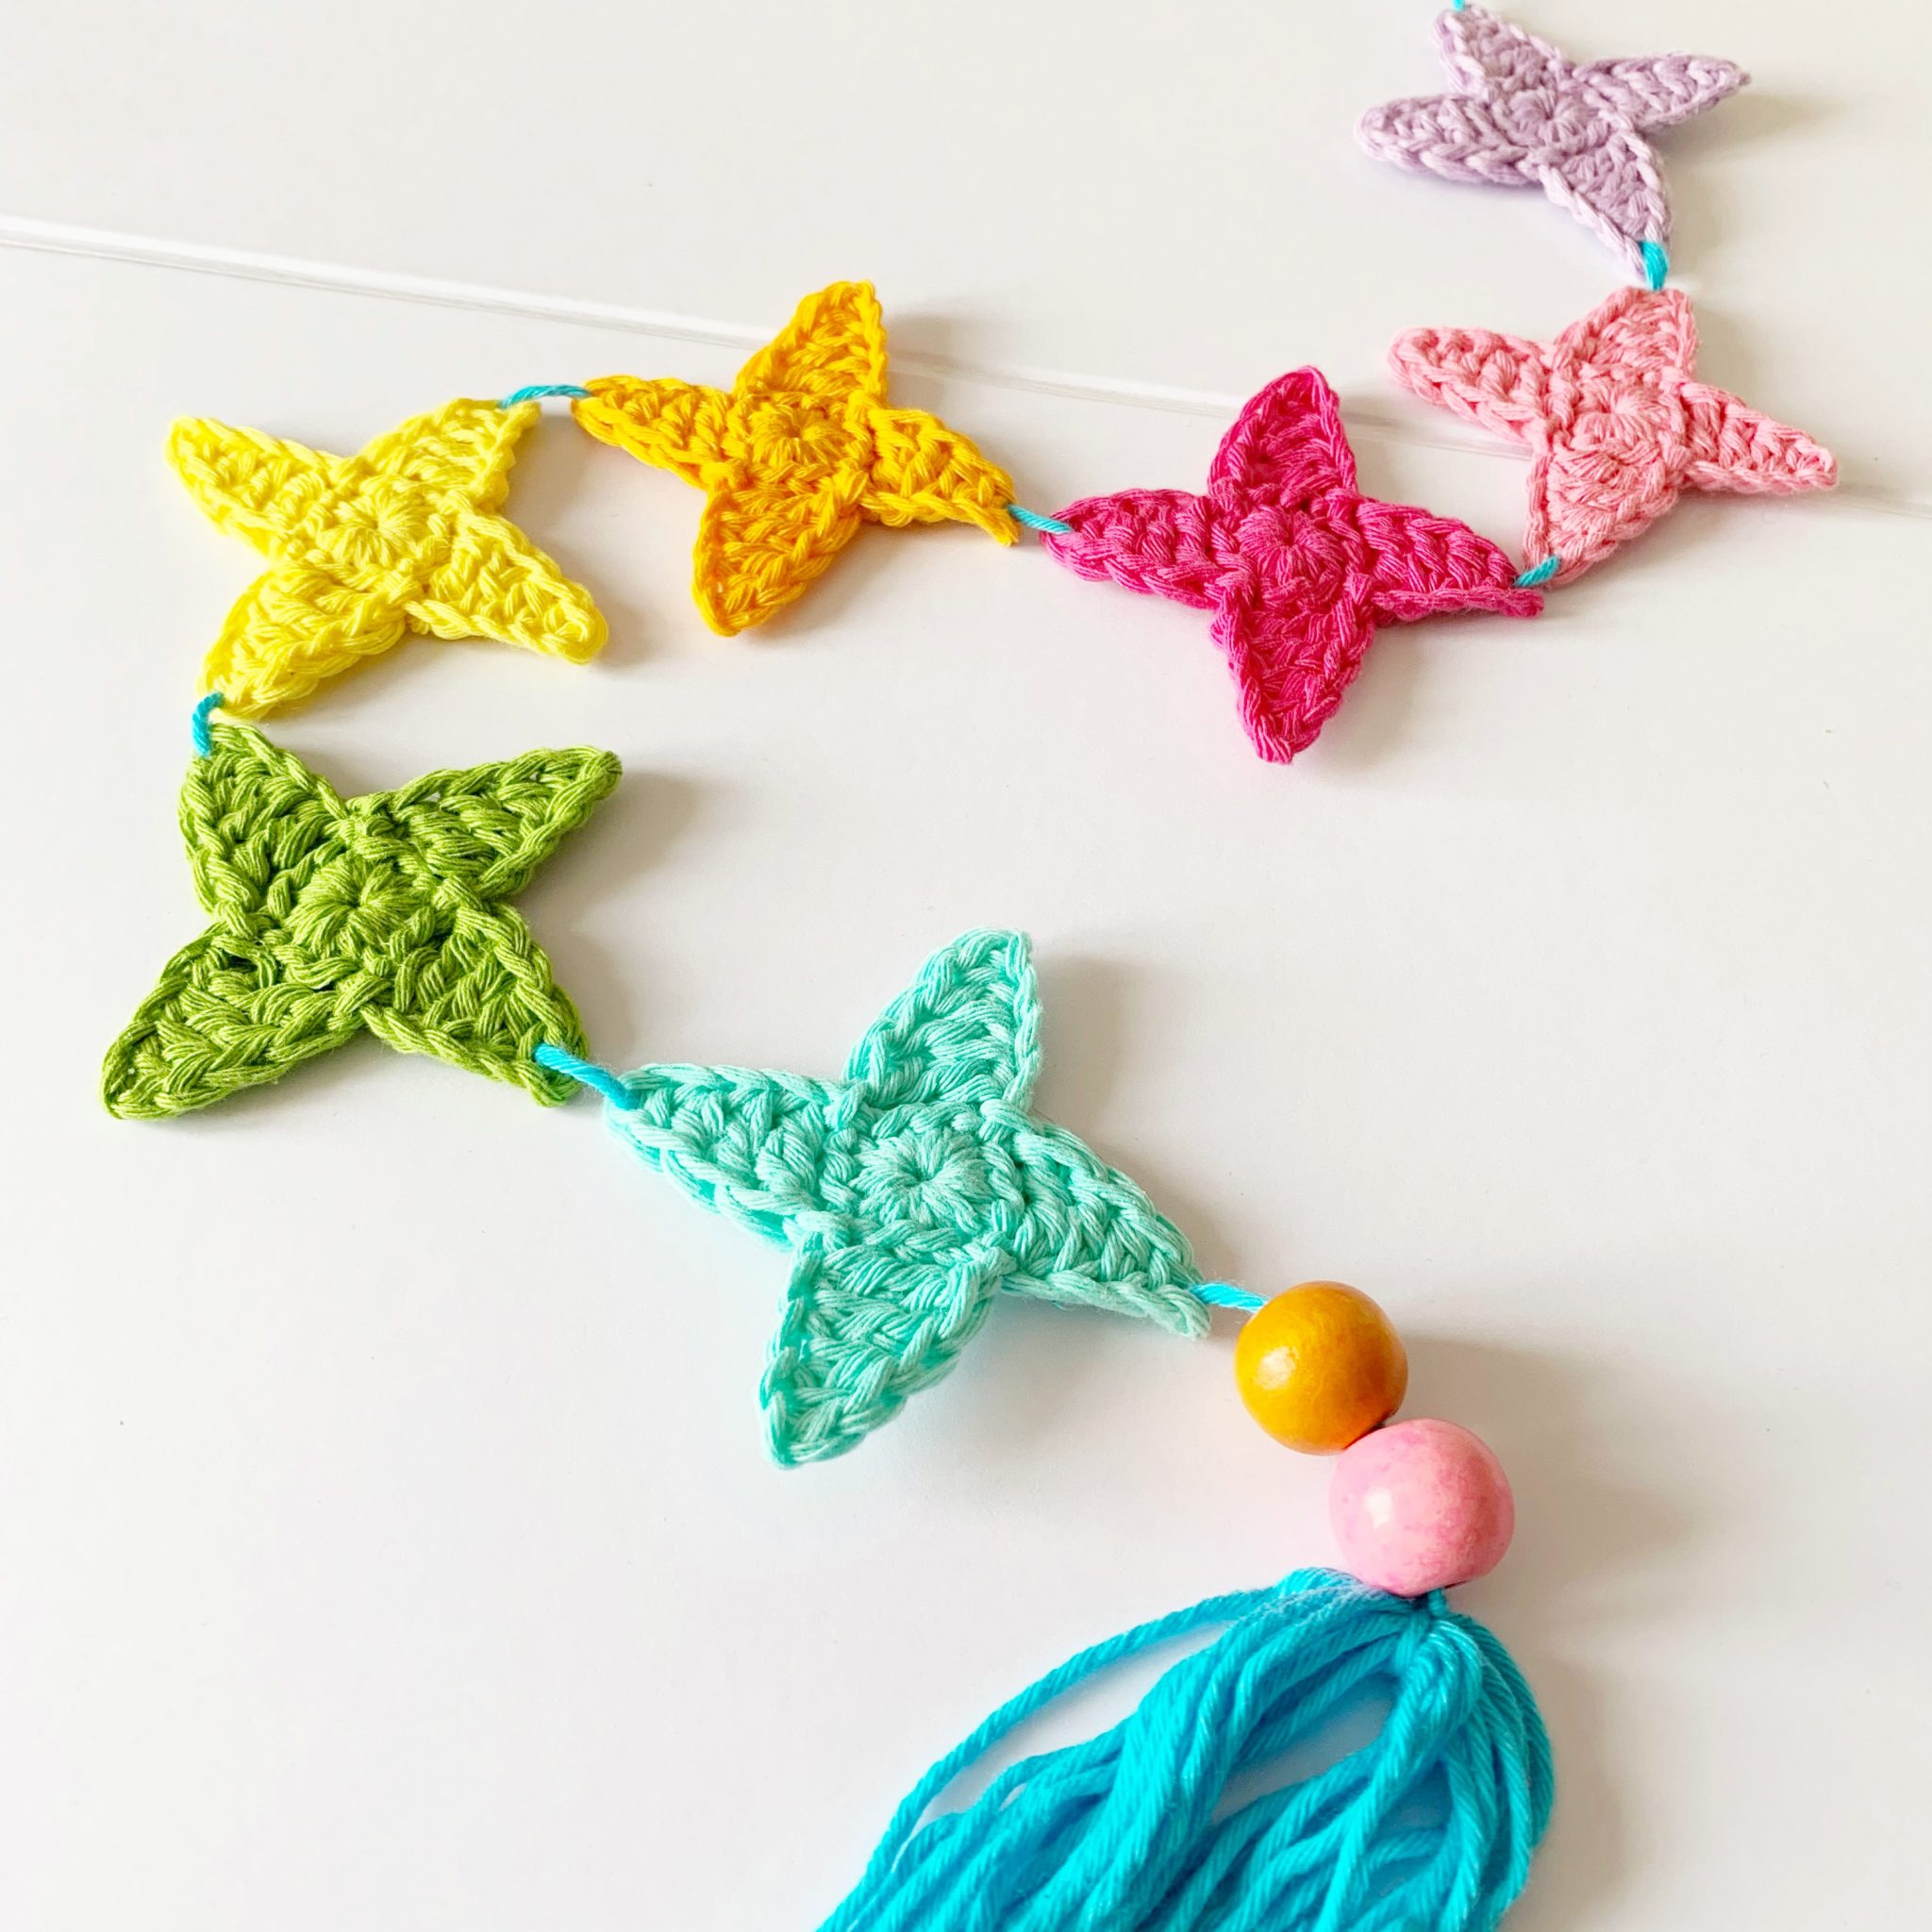
This is perfect stash busting project! Using only a small amount of yarn and basic crochet stitches you can whip it up in only a few hours. A great addition to your gallery wall or maybe to hang in a child’s room, you can change the colours to fit your decor.
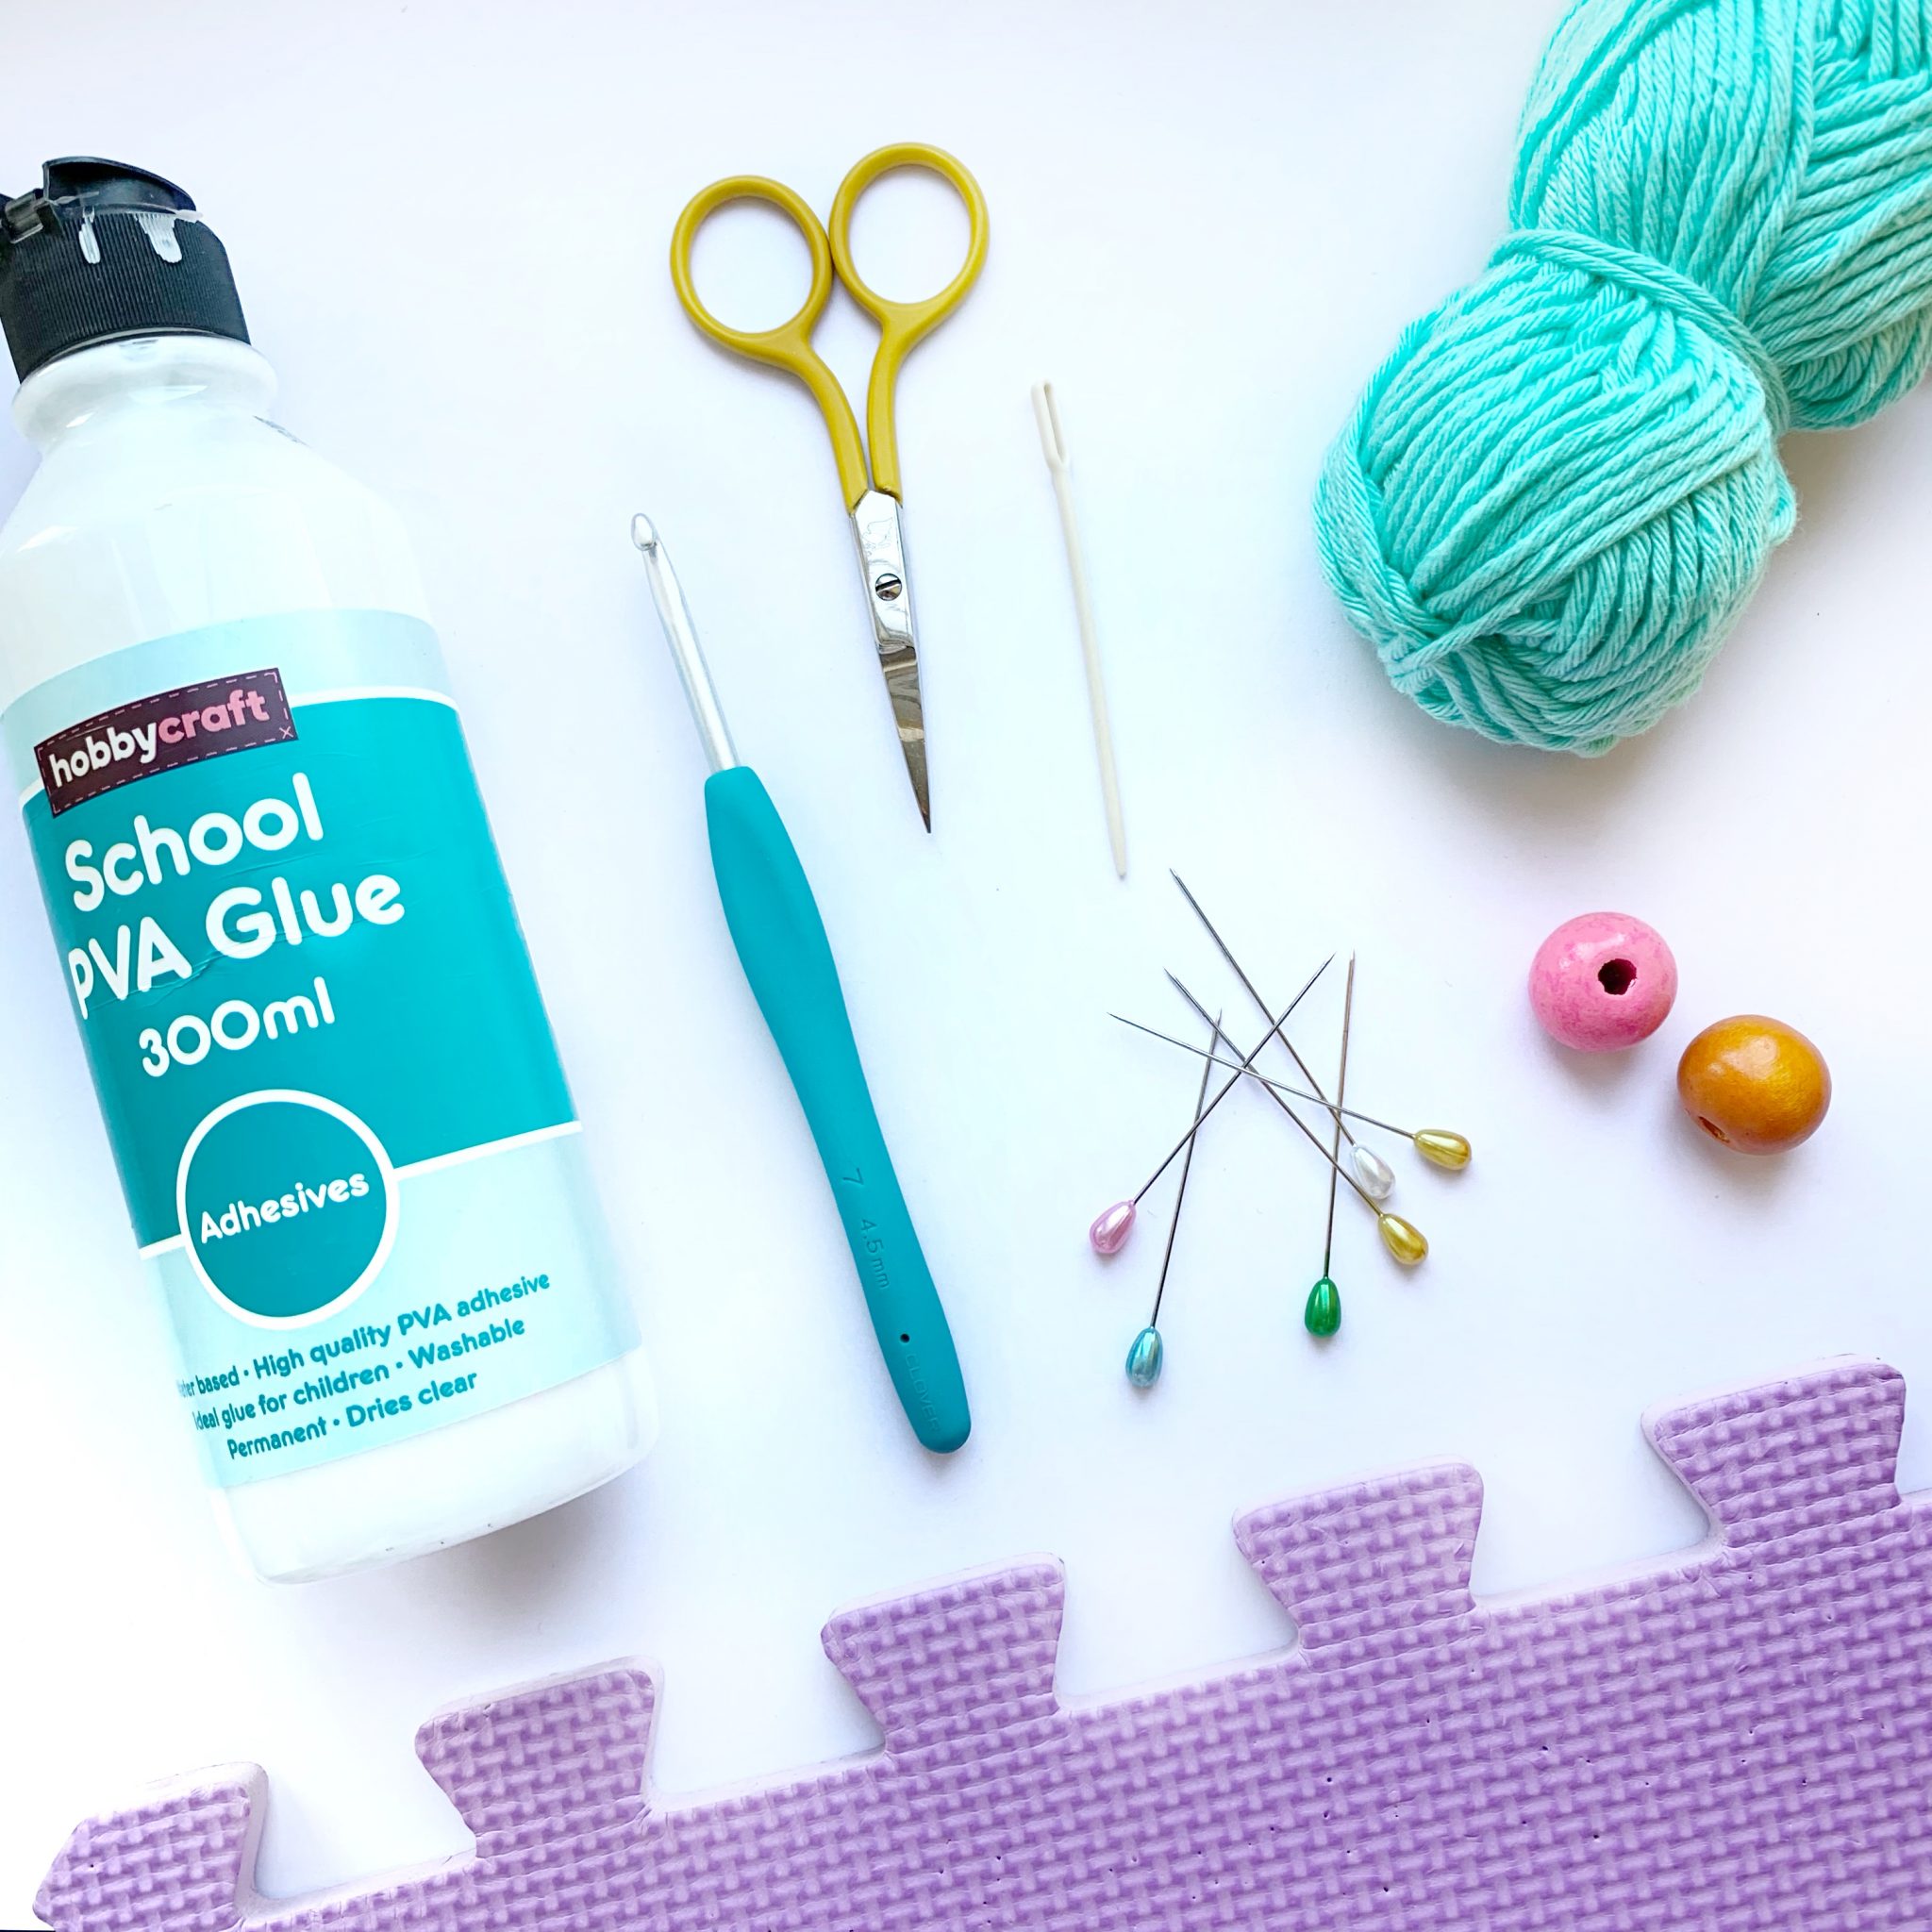
You will need:
Pattern:
Round 1 – 12 dc into a magic ring.
Round 2 – ch 5, dc in 2nd chain from hook, htr, tr, dtr in remaining chains, skip 2 stitches, slip stitch into next st.
Repeat Round 2 x 3 times, fasten off and sew in ends.
Make 7 flowers.

Once you have finished your flowers it’s a good idea to block them, this will allow them to hold their shape when hanging up. I have used PVA glue to block them, you can also use water or a 50/50 mixture.
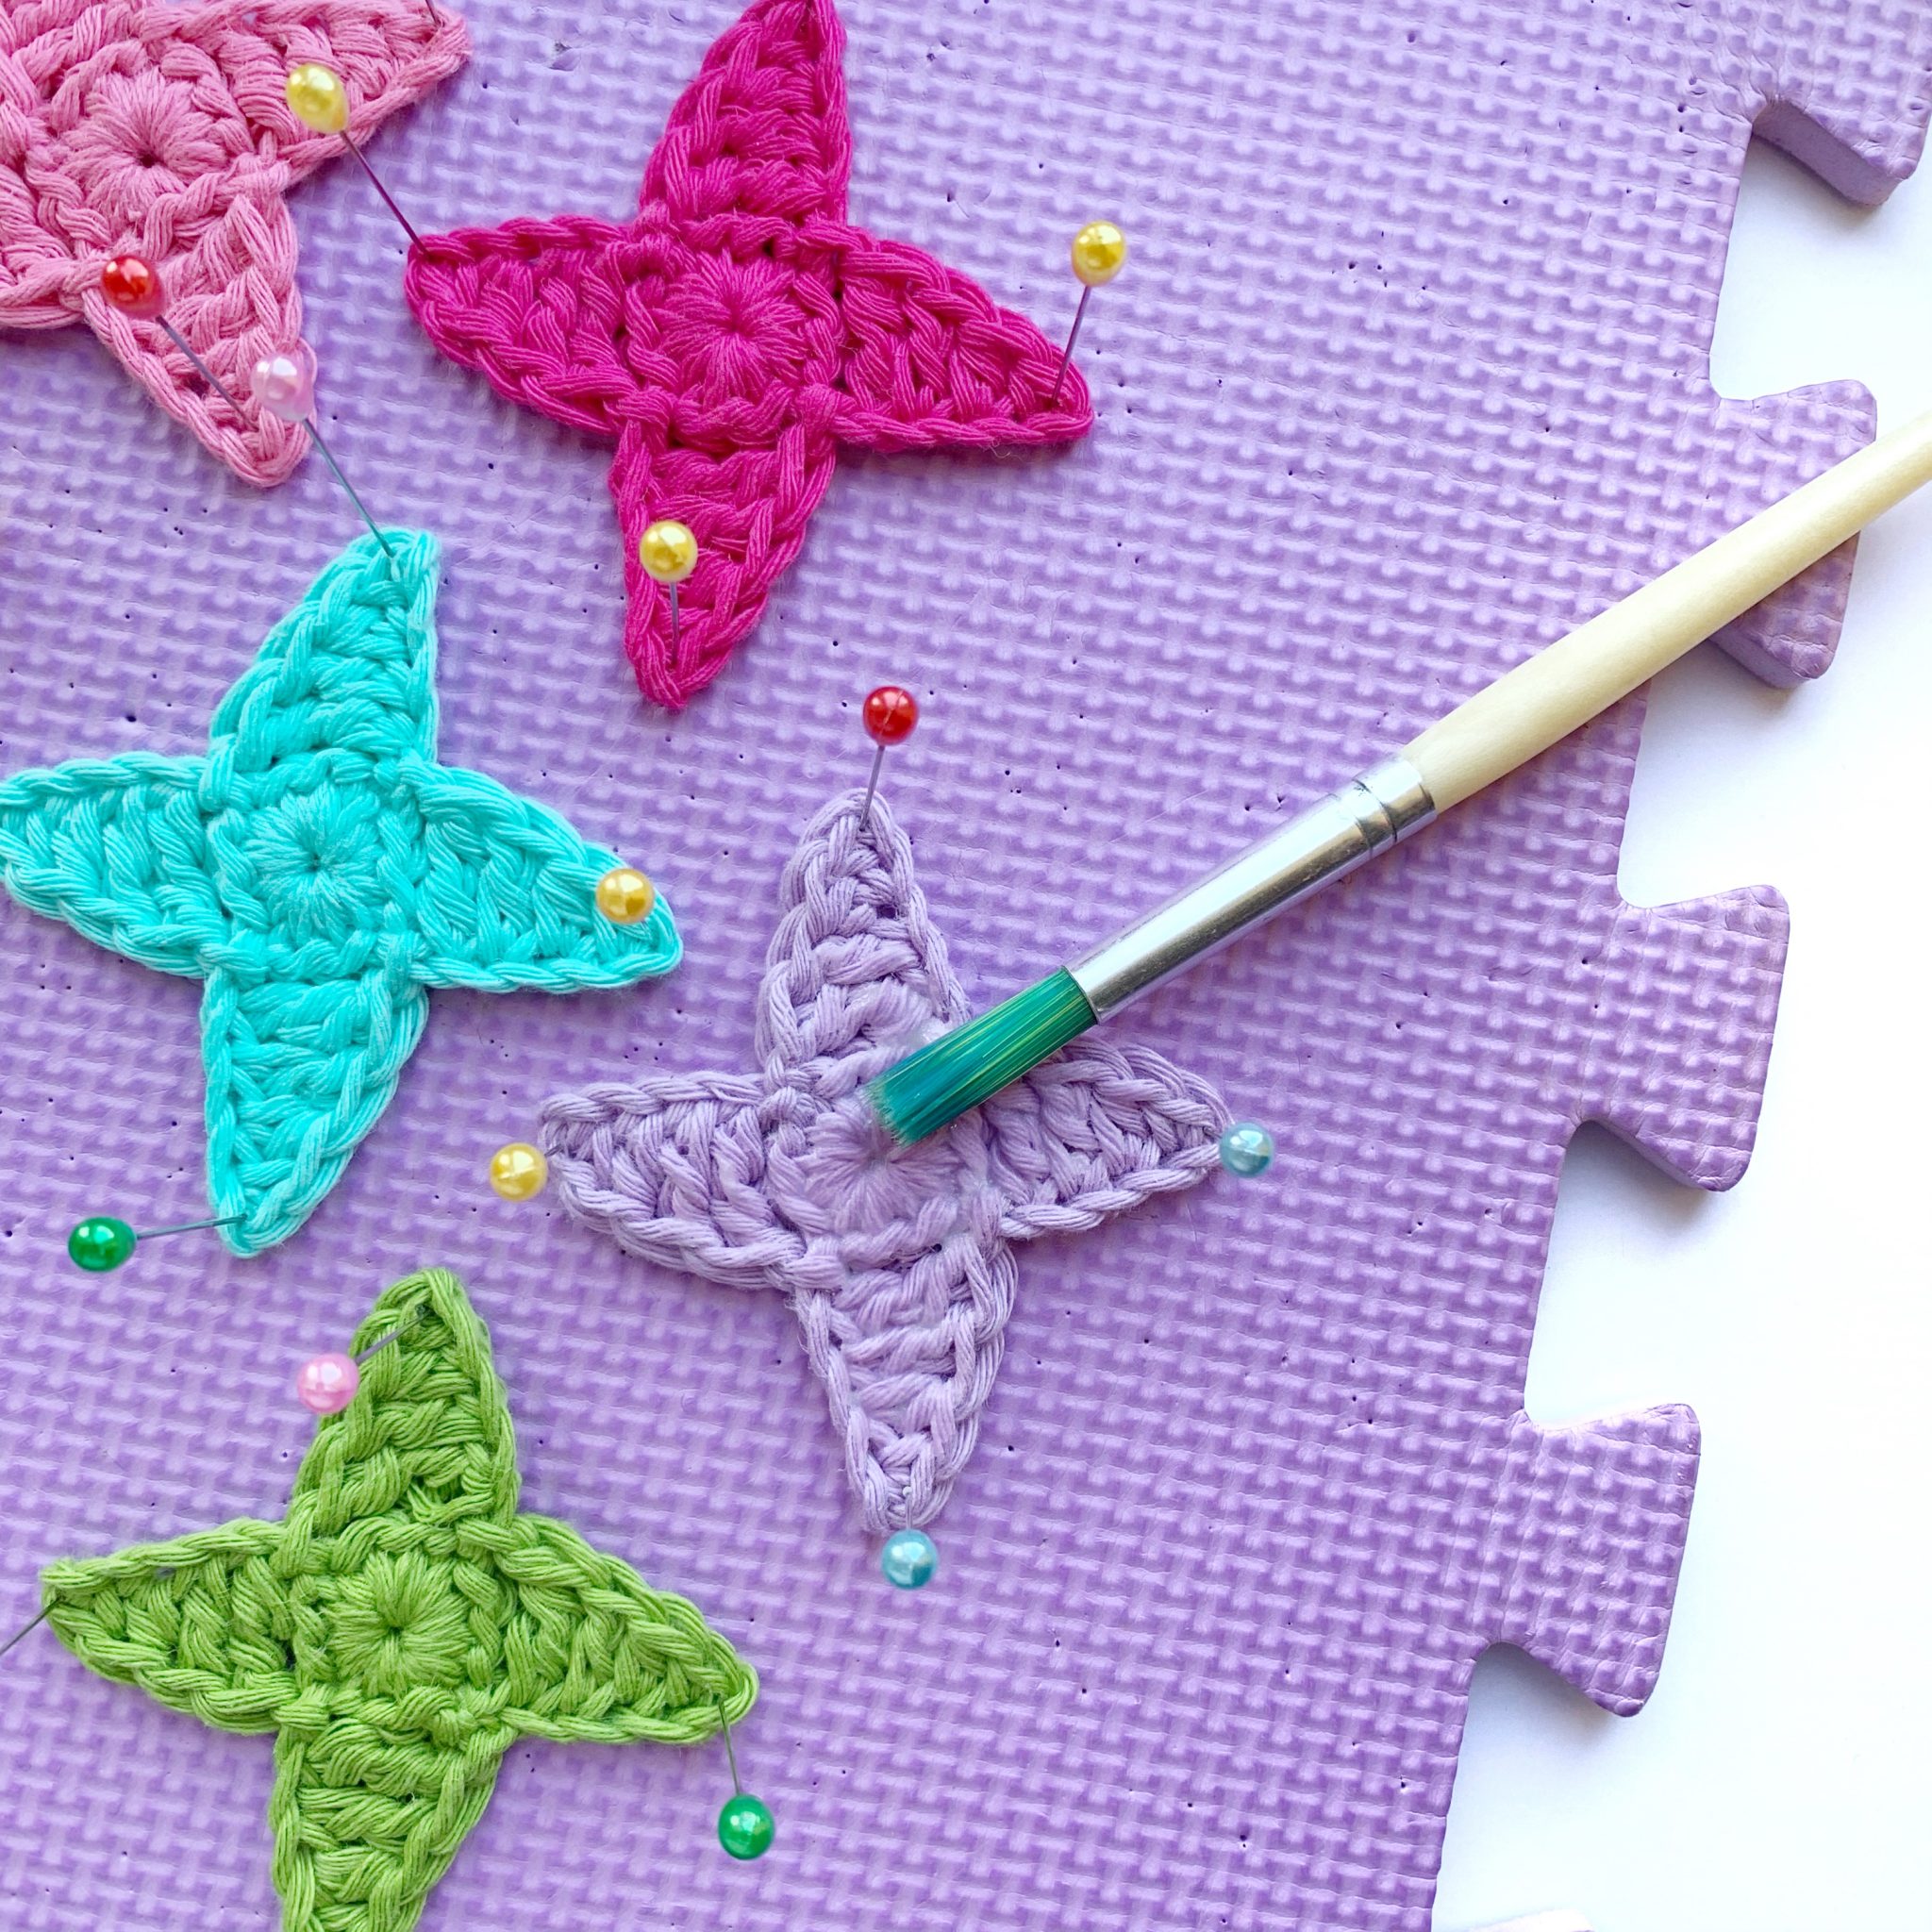
Once the flowers are dry, remove them from the blocking mat, you are now ready to construct your wall hanging.
Construction:
Step 1 – Cut the yarn needed, 1 x 85cm length and 15 x 20cm lengths (using the same colour yarn)
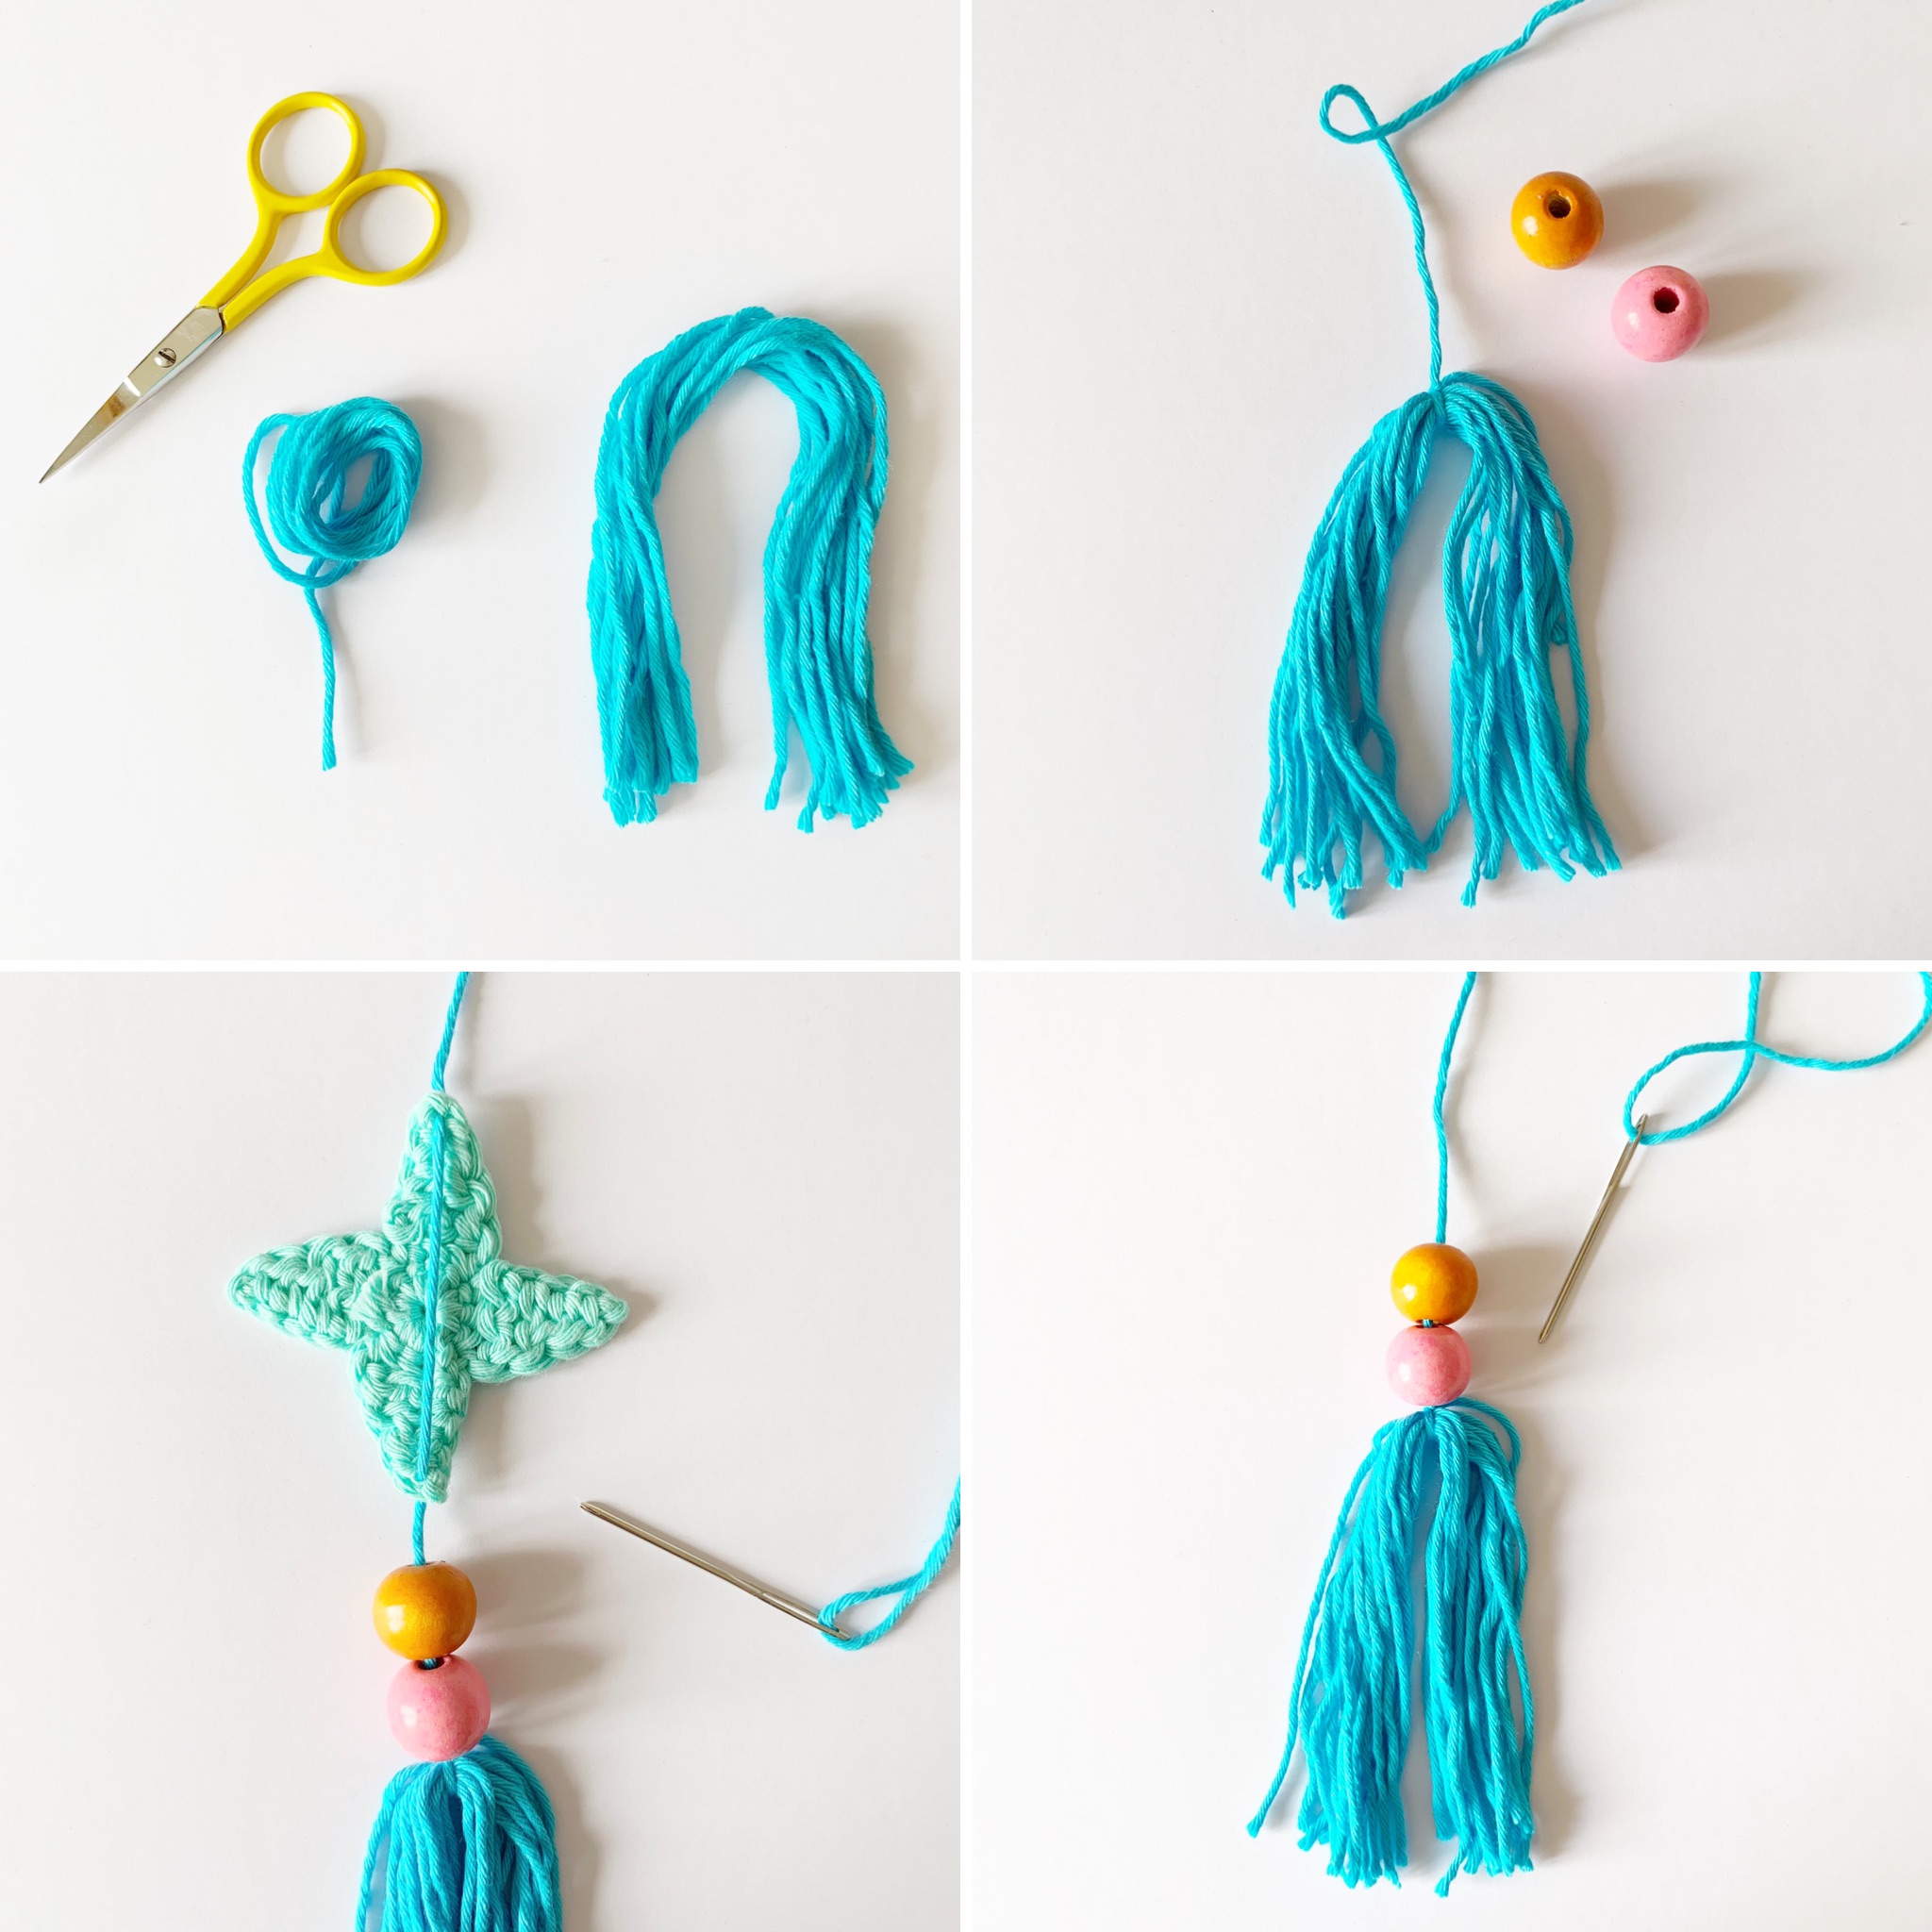
Step 2 – Tie the end of the long length around the middle of the 20cm lengths to create a tassel.
Step 3 – Thread the beads onto the yarn and then start adding your flowers.
Step 4 – To attach the flowers – insert your needle through the tip of the flower from front to back, come back up through the opposite flower tip from back to front. Repeat this process until you have attached all the flowers.
Step 5 – Create a small loop for hanging and then adjust the placement of the flowers so they are evenly spaced.
I hope you enjoy making this super sweet, quick and easy project. Please don’t forget to tag me in your makes.
Happy Hooking x
Posted in Free pattern